

To be prepared to respond to emergencies, learning the hands-only CPR steps is essential. CPR without mouth-to-mouth refers to a straightforward approach that teaches participants how to perform CPR correctly, focusing on chest compressions only. In addition to Emergency CPR techniques, this approach clarifies when to use hands-only CPR and serves as an effective tool for CPR in cardiac arrest victims.
Reliable CPR procedures for adults are ensured by following compression-only CPR guidelines and bystander CPR instructions. The American Heart Association (AHA) endorses Cardiopulmonary resuscitation (CPR) as a life-saving measure, especially during Sudden cardiac arrest (SCA). Victims can be stabilized until Emergency Medical Services EMS arrives by using an automated external defibrillator (AED) in conjunction with adequate chest compressions.
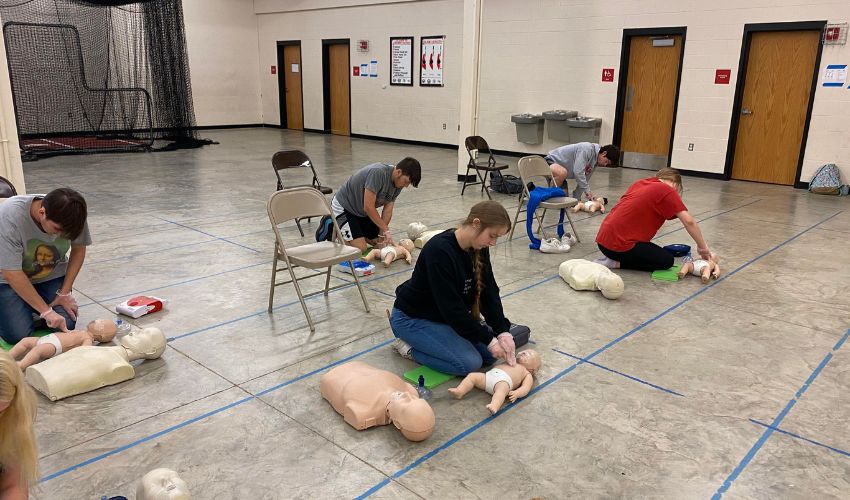
Hands-only CPR training equips rescuers to act promptly during Out-of-hospital cardiac arrest, reinforcing Bystander intervention and timely 911 emergency response. Earning these skills can help you feel more confident in life-or-death situations. By consistently performing Hands-only CPR training, you strengthen your preparedness to act rapidly and efficiently during emergencies.
Steps of Hand-Only CPR:
Master the steps of hands-only CPR to provide immediate aid during cardiac emergencies. Check responsiveness, call 911, and perform continuous chest compressions until help arrives, and follow the following steps:
Get Assistance
As soon as you see a person who is not breathing regularly and is unresponsive, dial 911 for emergency services. Start performing Hands-Only CPR and instruct someone nearby to dial 911. Inform the dispatcher exactly where the victim is located and their current condition. Have someone bring an AED (Automated External Defibrillator) to the location if one is available. Quickly access medical assistance and an automated external defibrillator (AED) to improve the victim’s prognosis drastically. In a crisis, every second matters, so respond quickly and assuredly. If you need sophisticated medical treatment quickly, the chances of a good outcome improve when you contact for aid immediately.
Placing the Victim
It is important to position the victim appropriately to perform hands-on CPR effectively. Lay the patient on their back on a firm, level surface. Avoid soft surfaces, such as couches and mattresses, to ensure your chest compressions are as effective as possible. Kneel and position your hands directly over the victim to gain the best leverage. Maintaining this position allows you to apply the ideal amount of pressure and depth during compressions. Proceed cautiously when lowering the individual from a high surface to the ground. By positioning yourself correctly, you can maximize the effectiveness of your chest compressions, increasing the likelihood of survival until emergency medical services (EMS) arrive. Respond swiftly and focus on the victim’s safety to significantly improve their chances of survival.
Start Chest Compressions
- Hand Placement:
Place the heel of one hand on the center of the chest (between the nipples). Place your other hand on top and interlock your fingers.
- Compression Depth:
Push down at least 2 inches (5 cm) but no more than 2.4 inches (6 cm).
- Compression Rate:
Perform compressions at a rate of 100-120 per minute.
Proceed with Compressions
Continue chest compressions without interruption until EMS arrives or the patient shows signs of life. At a rate of 100–120 compressions per minute, press down forcefully on the center of the chest, ensuring your fingers go at least 2 inches (5 cm) deep. To restore blood flow to the heart, allow the chest to fully recoil between compressions and avoid applying any pressure when recovering. If an AED becomes available, take a moment to use it; after delivering a shock, quickly resume compressions. If you begin to feel fatigued, ask another bystander to assist you in maintaining your compressions. Do not stop until medical personnel arrive; your efforts may increase the patient’s chances of survival by two to three times. Learn cardiopulmonary resuscitation (CPR) with the experts at 141 Protection Training to gain the confidence to save lives easily!

Why Use Hands-Only CPR?
The American Heart Association (AHA) recommends Hands-Only CPR for untrained bystanders or those uncomfortable giving rescue breaths. This method’s streamlined procedure allows anybody to respond swiftly to life-threatening situations like Sudden Cardiac Arrest (SCA). Hands-only CPR improves prognosis by delivering chest compressions that maintain blood flow to the brain and vital organs. Reducing mortality rates by half or even a third is possible with rapid chest compressions, according to studies. Bystanders step in at critical times, using Hands-Only CPR, which eliminates hesitation to perform mouth-to-mouth rescue breaths. It’s accessible to everyone, anywhere, and anybody can learn how to do it. 141 Protection Training offers comprehensive CPR certification classes, including instruction on rescue breaths and AED use, for individuals seeking in-depth training. Sign up now to get the self-assurance and lifesaving abilities you require!
Get Certified:
141 Protection Training offers complete CPR certification, but Hands-Only CPR remains a crucial lifesaving skill. Our training covers the use of AEDs, chest compressions, and rescue breaths to prepare you for emergencies. Earn your confidence and proficiency with the help of certified teachers who lead you through real-world scenarios and hands-on practice. Certification ensures that parents, teachers, and safety officers adhere to the standards set by the American Heart Association (AHA) and the American Red Cross. Don’t wait until you’re in a true crisis to become a certified lifesaver; sign up now. Contact 141 Protection Training immediately to reserve your position and start making a positive impact!
Frequently Asked Questions:
Hands-Only CPR involves performing continuous chest compressions without rescue breaths to maintain blood flow during cardiac arrest.
Use Hands-Only CPR when an adult or teen suddenly collapses and shows no signs of responsiveness or normal breathing.
Place the heel of one hand on the center of the chest and stack the other hand on top, interlocking your fingers.
Compress the chest at least 2 inches (5 cm) but avoid exceeding 2.4 inches (6 cm).
Perform compressions at a rate of 100-120 per minute, matching the beat of the song “Stayin’ Alive.”
Continue compressions without interruption until EMS arrives, the person starts breathing, or you become exhausted and can no longer continue.
Perform traditional CPR with rescue breaths for infants and children, as they often require oxygen support.
Continuous compressions maintain blood flow to the brain and vital organs, significantly improving survival chances.
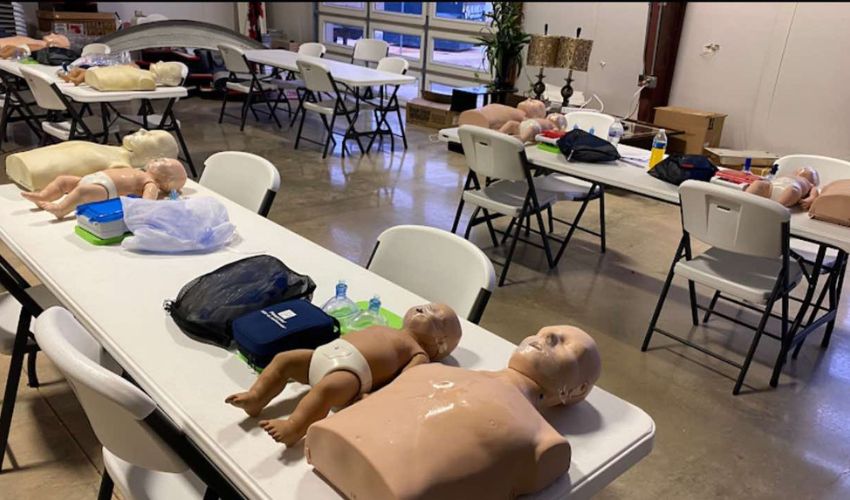
Enroll in a CPR course at 141 Protection Training, the leading expert-led, hands-on training institute.
Certification ensures you master all lifesaving techniques, including Hands-Only CPR, rescue breaths, and AED use.